
Milky Way Timelapse Bromo – Want to capture the night in motion? Discover how to shoot amazing Milky Way timelapse videos at Mount Bromo with this beginner-friendly guide.
Introduction
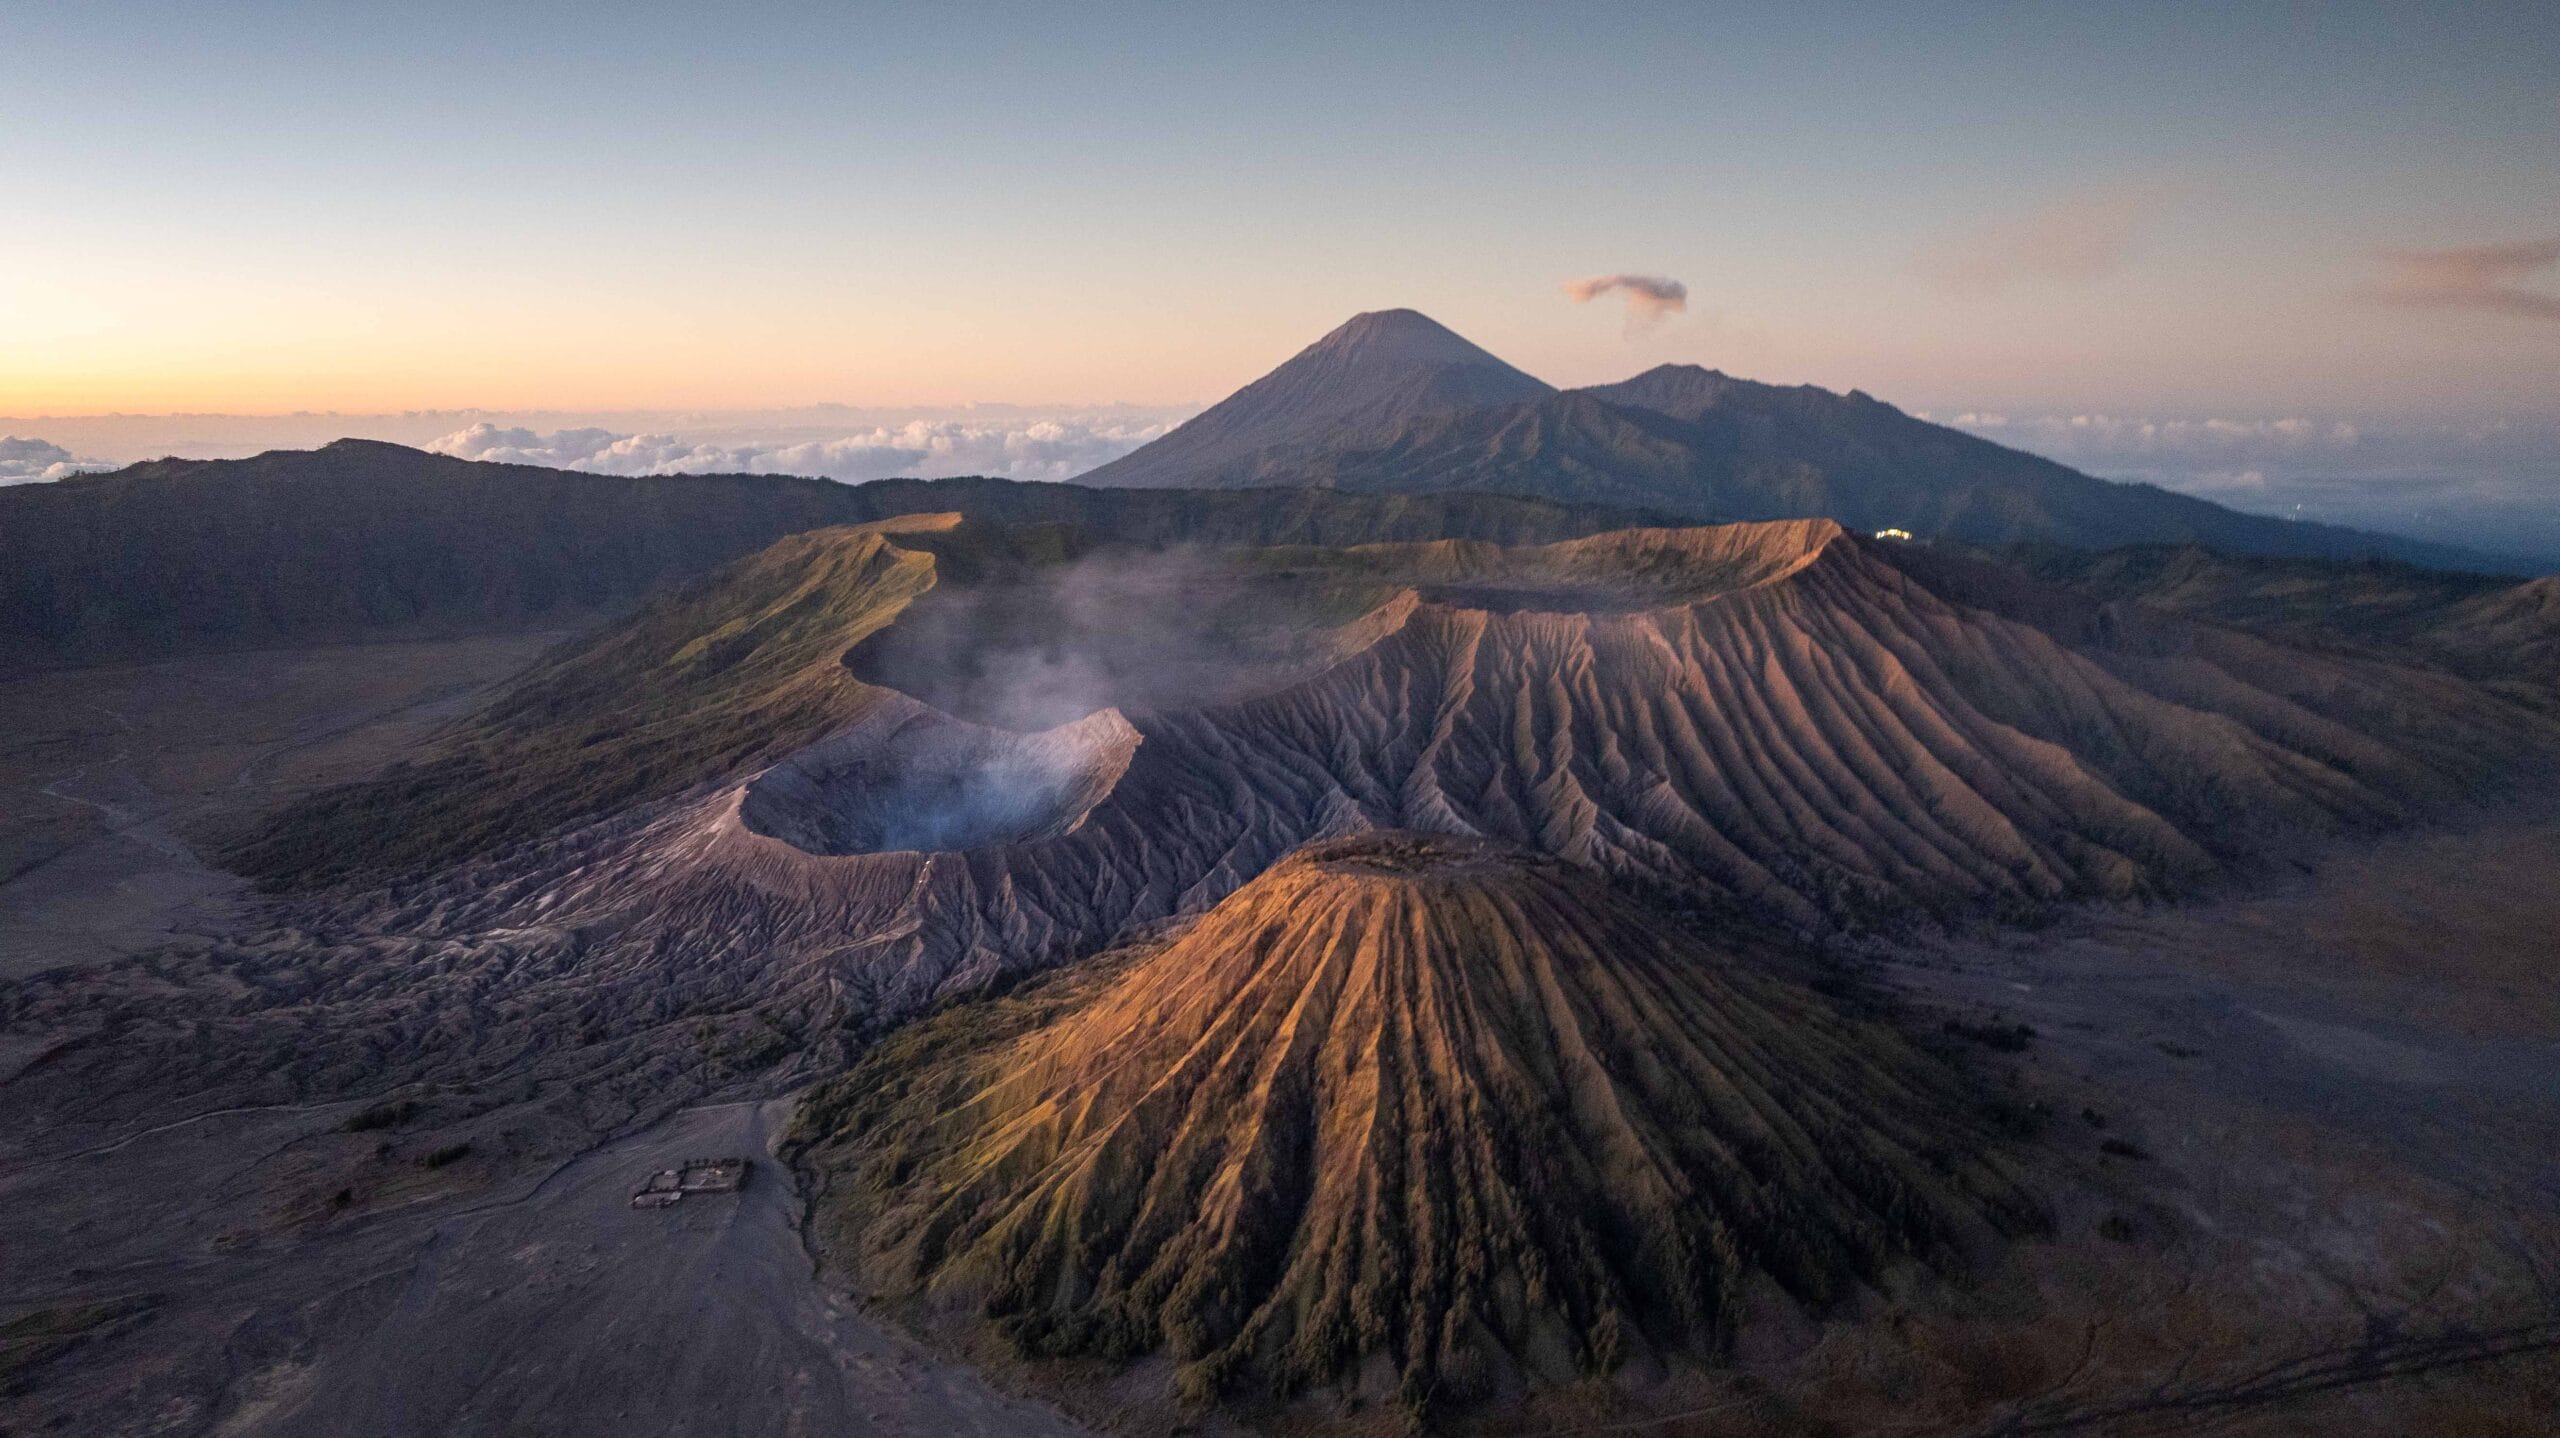
Create Stunning Milky Way Timelapse Bromo – Ever dreamed of watching the galaxy swirl above a dramatic volcanic landscape? Mount Bromo in East Java, Indonesia, is not just famous for its fiery sunrise—it’s also a paradise for astrophotographers. Here, the Milky Way arches across the sky like a cosmic river, offering the perfect stage to create breathtaking timelapse videos.
What Makes Mount Bromo Special for Astrophotography
Bromo is unique because its vast sea of sand and towering craters create a surreal foreground for the starry sky. Light pollution is minimal, thanks to its remote location, making it one of the best places in Southeast Asia to capture the Milky Way.
Understanding the Milky Way
The Milky Way is our galaxy, filled with billions of stars, and it becomes most visible in the dry season when skies are crystal clear. In Bromo, you’ll get your best chances from April to October.
Planning Your Milky Way Timelapse Bromo
Good timelapses don’t happen by accident. Use apps like Stellarium or SkySafari to predict the galaxy’s position. Always check the weather forecast—clouds are your worst enemy when chasing the stars.
Best Season and Time to Shoot in Bromo
The dry season is your best bet. Aim for midnight until 4 a.m., when the Milky Way core is high and moonlight is minimal.
Essential Gear for Milky Way Timelapse
- Camera: A DSLR or mirrorless with manual mode.
- Lens: Wide-angle (14mm–24mm) with f/2.8 or faster.ecure your camera—gusts of wind are serious here!
- Tripod: Sturdy enough to withstand wind.
- Intervalometer: Essential for automated timelapse sequences.
- Extra batteries & memory cards: Long shoots eat up both quickly.
Camera Settings for Stunning Result
- Shutter Speed : 15–25 second to avoid star trails.
- ISO : 1600 – 3200 for brightness without too much noise.
- Aperture : As wide as possible (f/2.8 or lower).
- White Balance : around 3500k for natural sky tones.
Composing your shot
Create Stunning Milky Way Timelapse Bromo Use Bromo’s dramatic crater, Sea of Sand, or silhouetted tress to give depth. Framing is everything – your stars will look even more magical with earthly features anchoring the shot.
Step-by-Step Guide to Shooting Timelapse
- Mount your camera securely.
- Set interval shots (20–30 seconds apart).
- Test exposure with single frames.
- Let your camera run for 1–3 hours.
- Review and adjust if needed.
Editing Your Timelapse
Bring your raw frames into software like Lightroom, After Effects, or LRTimelapse. Apply noise reduction, enhance contrast, and stabilize the video for smooth motion.
Tips for Reducing Noise
- Enable long-exposure noise reduction.
- Stack multiple frames if possible.
- Clean up remaining noise in post.
Safety Tips While Shooting at Bromo
Nights at Bromo are freezing—pack warm jackets. Volcanic dust can damage lenses, so keep gear protected. And always watch your step—Bromo’s terrain is rugged in the dark.
Best Viewpoints in Bromo for Timelapse
- Penanjakan Hill: Classic sunrise and star view.
- King Kong Hill: Wider, less crowded perspective.
- Love Hill: Perfect for silhouettes with the galaxy.
- Sea of Sand: Ethereal flat expanse for star trails.
Common Mistakes to Avoid
- Shooting during a full moon (it washes out stars).
- Forgetting to check focus (stars should be pin-sharp).
- Overexposing and losing details in the Milky Way core.
Why Timelapse at Bromo Feels Magical
Watching the Milky Way dance over Bromo isn’t just photography—it’s a spiritual experience. The silent night, the glowing stars, and the looming crater together create a cosmic symphony that feels otherworldly.
The Milky Way is often considered the most beautiful view of the night sky because it reveals the vastness and mystery of our universe in a breathtaking way. Stretching like a glowing river of stars across the darkness, it reminds us that we are part of something infinitely larger than ourselves. Its shimmering clusters, radiant dust clouds, and endless sparkles create a natural masterpiece that no Artificial wonder can match. Watching the Milky Way under a clear, unpolluted sky evokes feelings of wonder, peace, and connection to the cosmos. It is both humbling and inspiring, a reminder of the timeless beauty that has guided travelers, dreamers, and storytellers for century.
Conclusion
Creating a Milky Way timelapse Bromo isn’t just about technical skills—it’s about patience, planning, and soaking in the universe’s beauty. With the right gear, knowledge, and a little courage to brave the cold night, you can capture a masterpiece that tells the story of both Earth and sky.
FAQs
1. What is the best month to capture the Milky Way in Bromo?
– Between April and October during the dry season.
2. Do I need professional gear to shoot a timelapse?
– Not necessarily. Even mid-range cameras can produce stunning results if paired with the right lens and technique.
3. Is it safe to shoot alone at night in Bromo?
– Yes, but it’s better to go with a guide or group for safety in the rugged terrain.
4. Can I see the Milky Way with the naked eye at Bromo?
– Absolutely! On clear nights, the galaxy is clearly visible without any equipment.
5. How long should a Milky Way timelapse last?
– Ideally, 1–3 hours of shooting gives enough frames for a smooth, captivating sequence.


[…] Read more : https://panoramalenstrip.com/milky-way-timelapse-bromo/ […]